Required Materials

  • A clean and organized workspace. 
  • Consider constructing a Still Air Box to minimize the risk of contamination. 
  • A lighter for flame sterilization of your scalpel. 
  • Optional: Masking tape. 
  • Optional: A face mask to further reduce the risk of contamination. 

Step 1

Check to ensure all of your supplies are in the box

  • 6 Sterilized Substrate Bags 
  • 1 Sterilized Millet Bag 
  • 1 Colonized Petri Dish of your chosing 
  • 1 Pair of Nitrile Gloves 
  • 1 Spray Bottle of Isopropyl Alcohol 
  • 12 Aligator Clips 
  • 1 Scalpel with 5 blades 

Step 2

Inoculating Grain

This step will guide you through the proper inoculation of your millet with mycelium, facilitating efficient substrate inoculation. The critical aspect of this step is maintaining impeccable sanitation. Given that the air is filled with Mold spores, bacteria, and viruses, minimizing their exposure to the substrate bag is paramount for a successful cultivation process. While we employ a HEPA filter flow hood on our farm, you can reduce the risk of contamination at home by constructing a "still air box." Numerous instructional videos on this subject can be found on YouTube. 

Procedure: 

  1. Put on your gloves. 
  2. Thoroughly disinfect all tools, surfaces, materials, and yourself using isopropyl alcohol to eliminate potential contaminants: scalpel; petri dish; millet bag; countertop; your hands.
  3. Remove the para-film from the petri dish, keeping the lid on until you are ready to transfer. 
  4. Use your lighter to heat the scalpel blade until it becomes red-hot for 3-5 seconds to eliminate contaminants. 
  5. Subsequently, remove the petri dish lid and cut along the edge of the agar, creating a complete circle. 
  6. Open the millet bag and swiftly deposit the agar into it to minimize air exposure. 
  7. Fold the bag down by 2 inches and secure it with alligator clips; consider using masking tape if an airtight seal is not achieved. 
  8. Allow the bag to incubate for 2-4 weeks. 
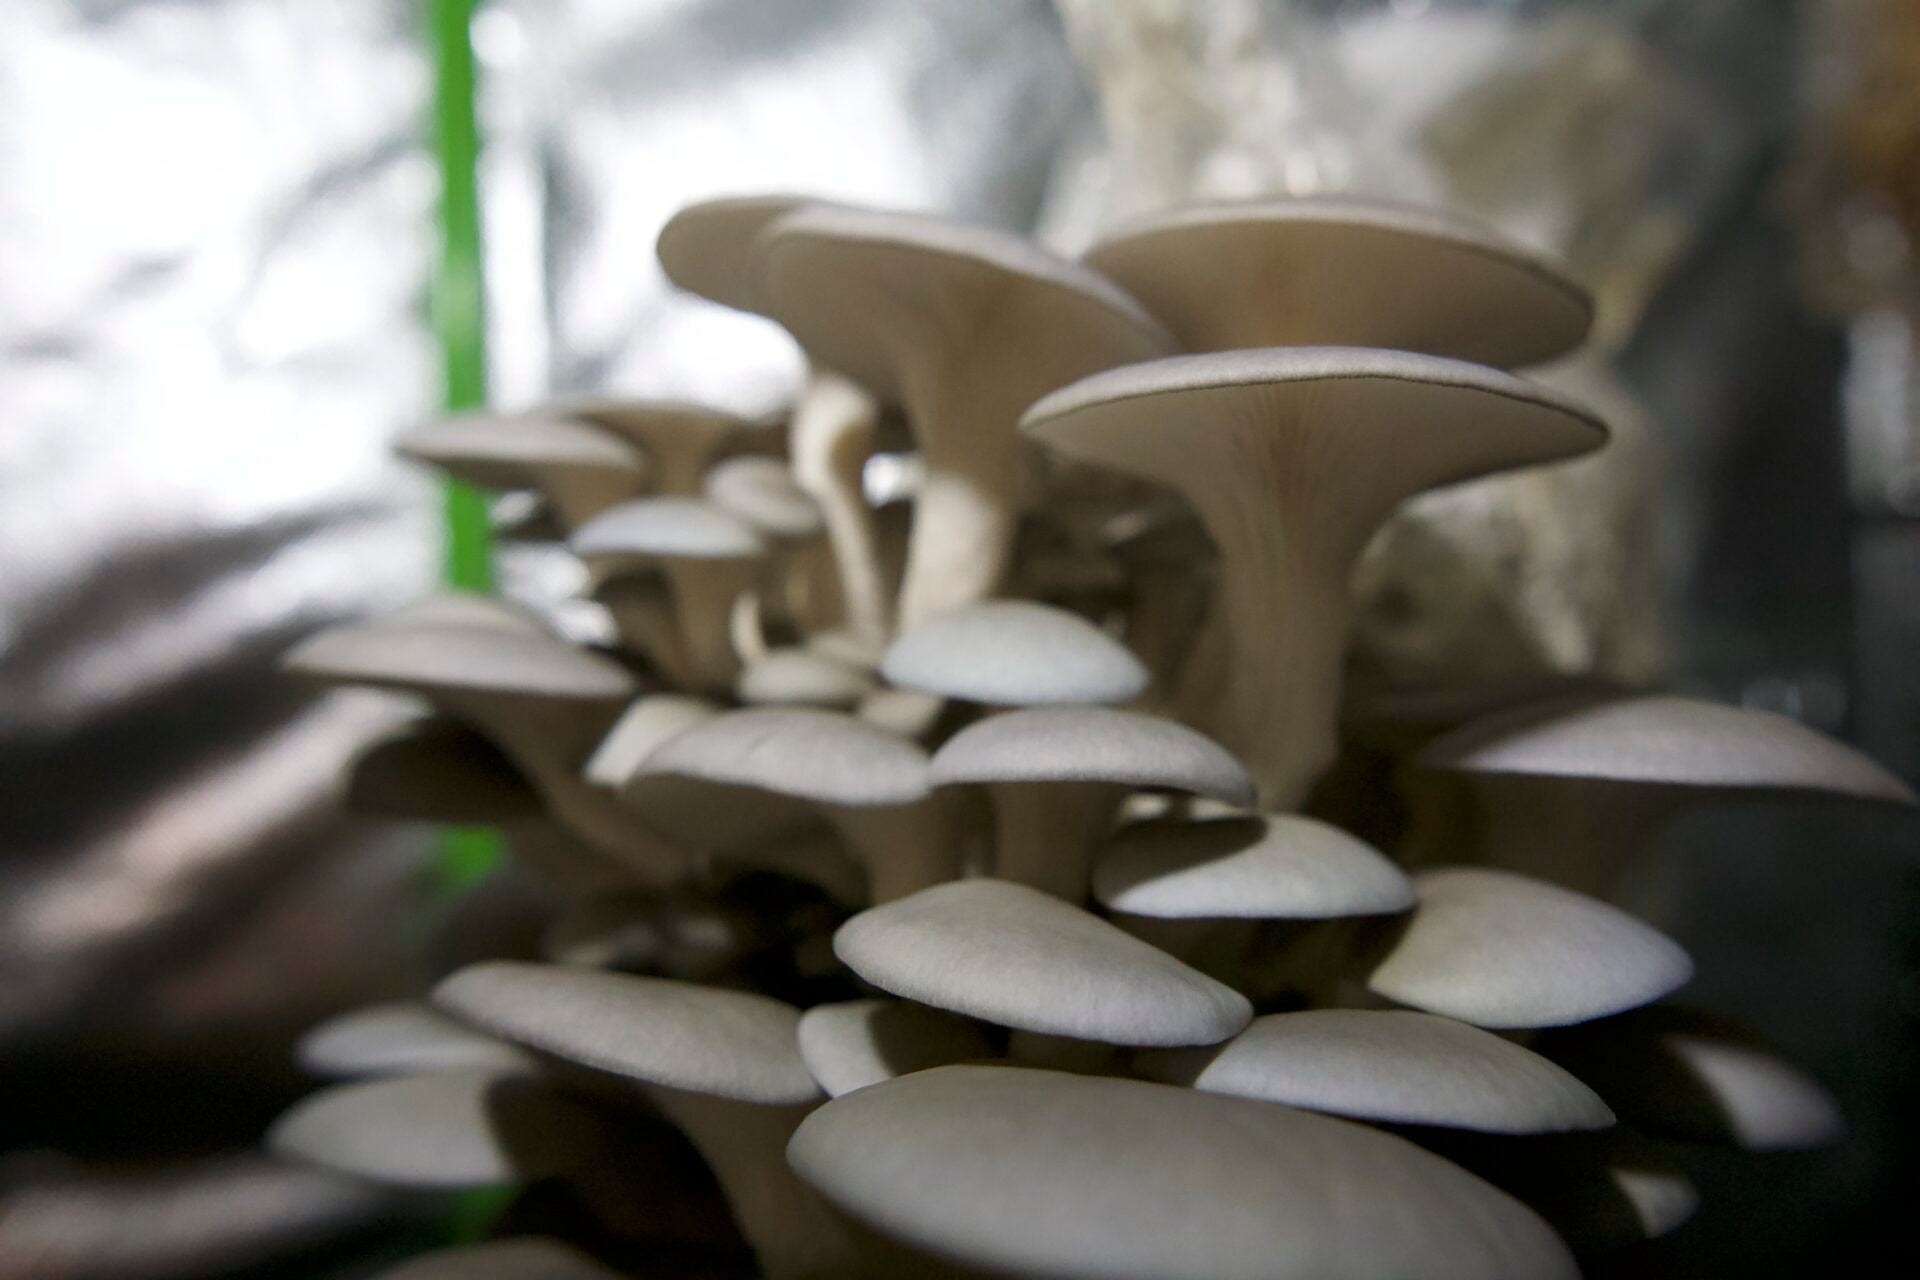
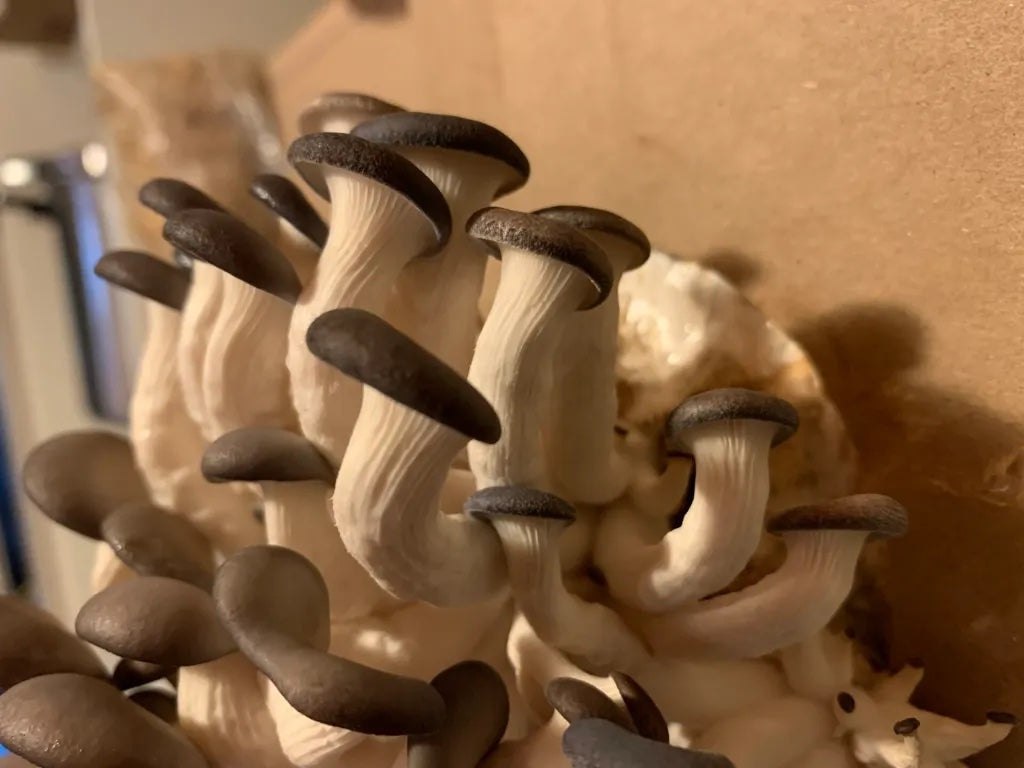
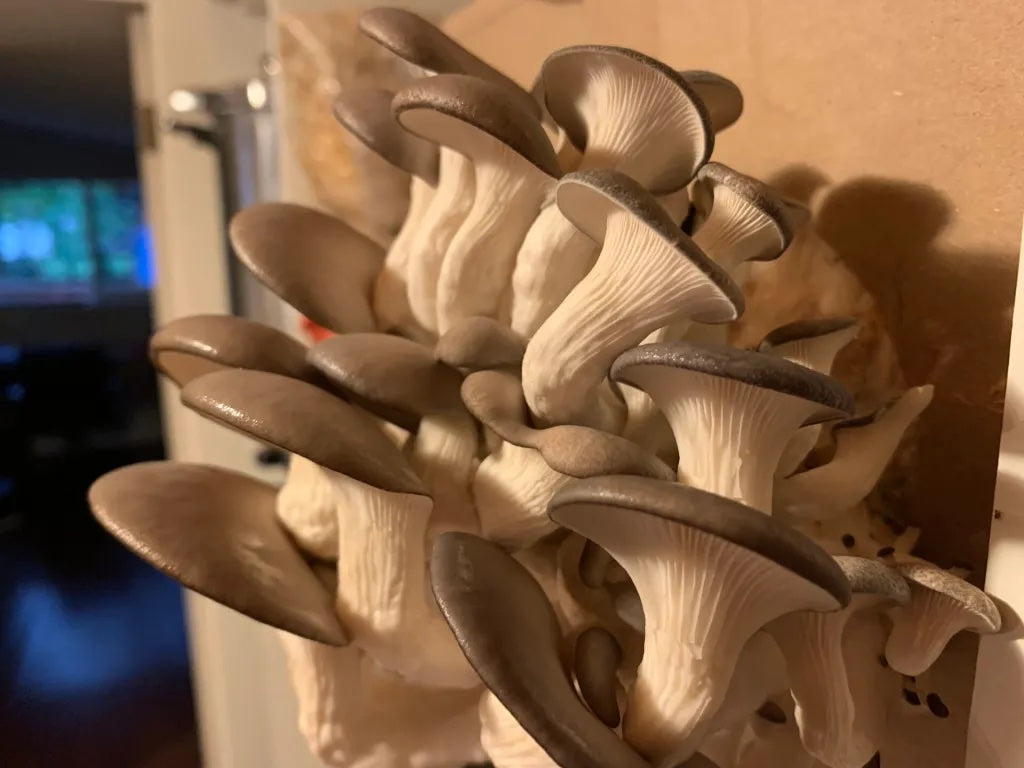
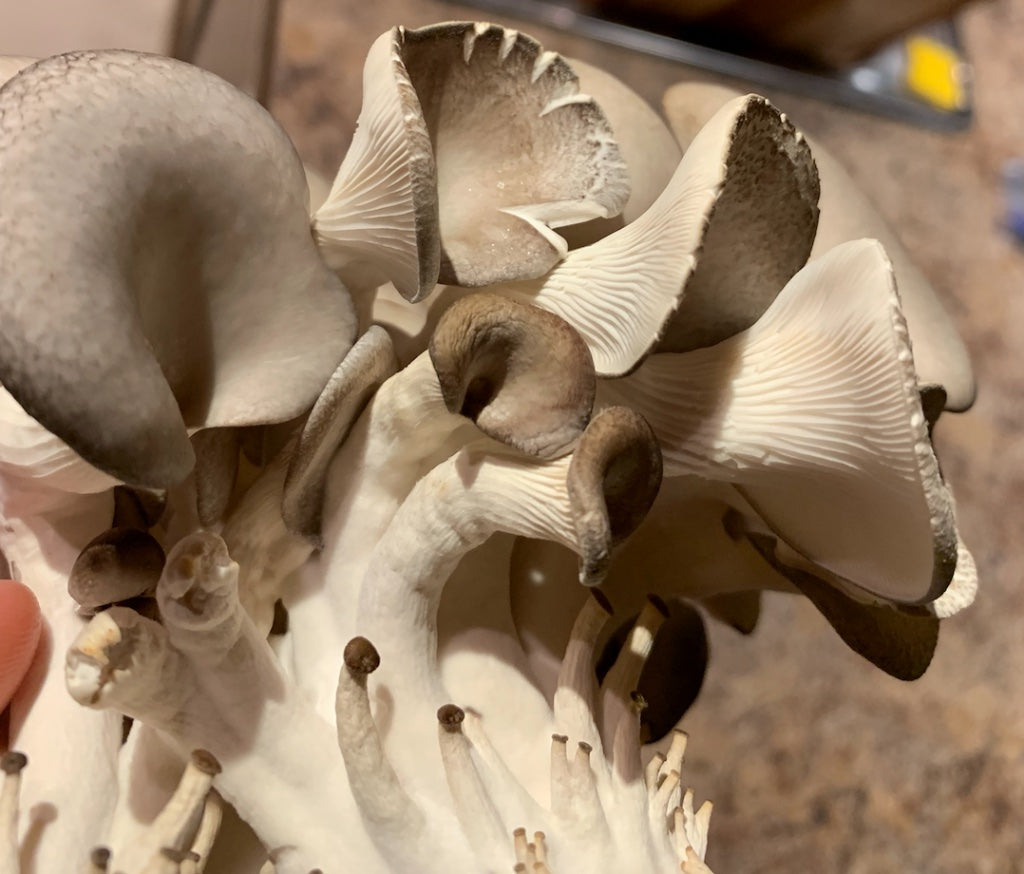
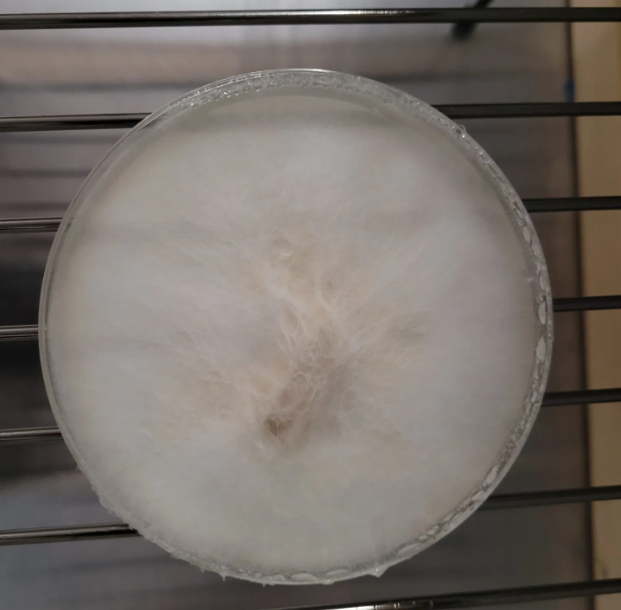
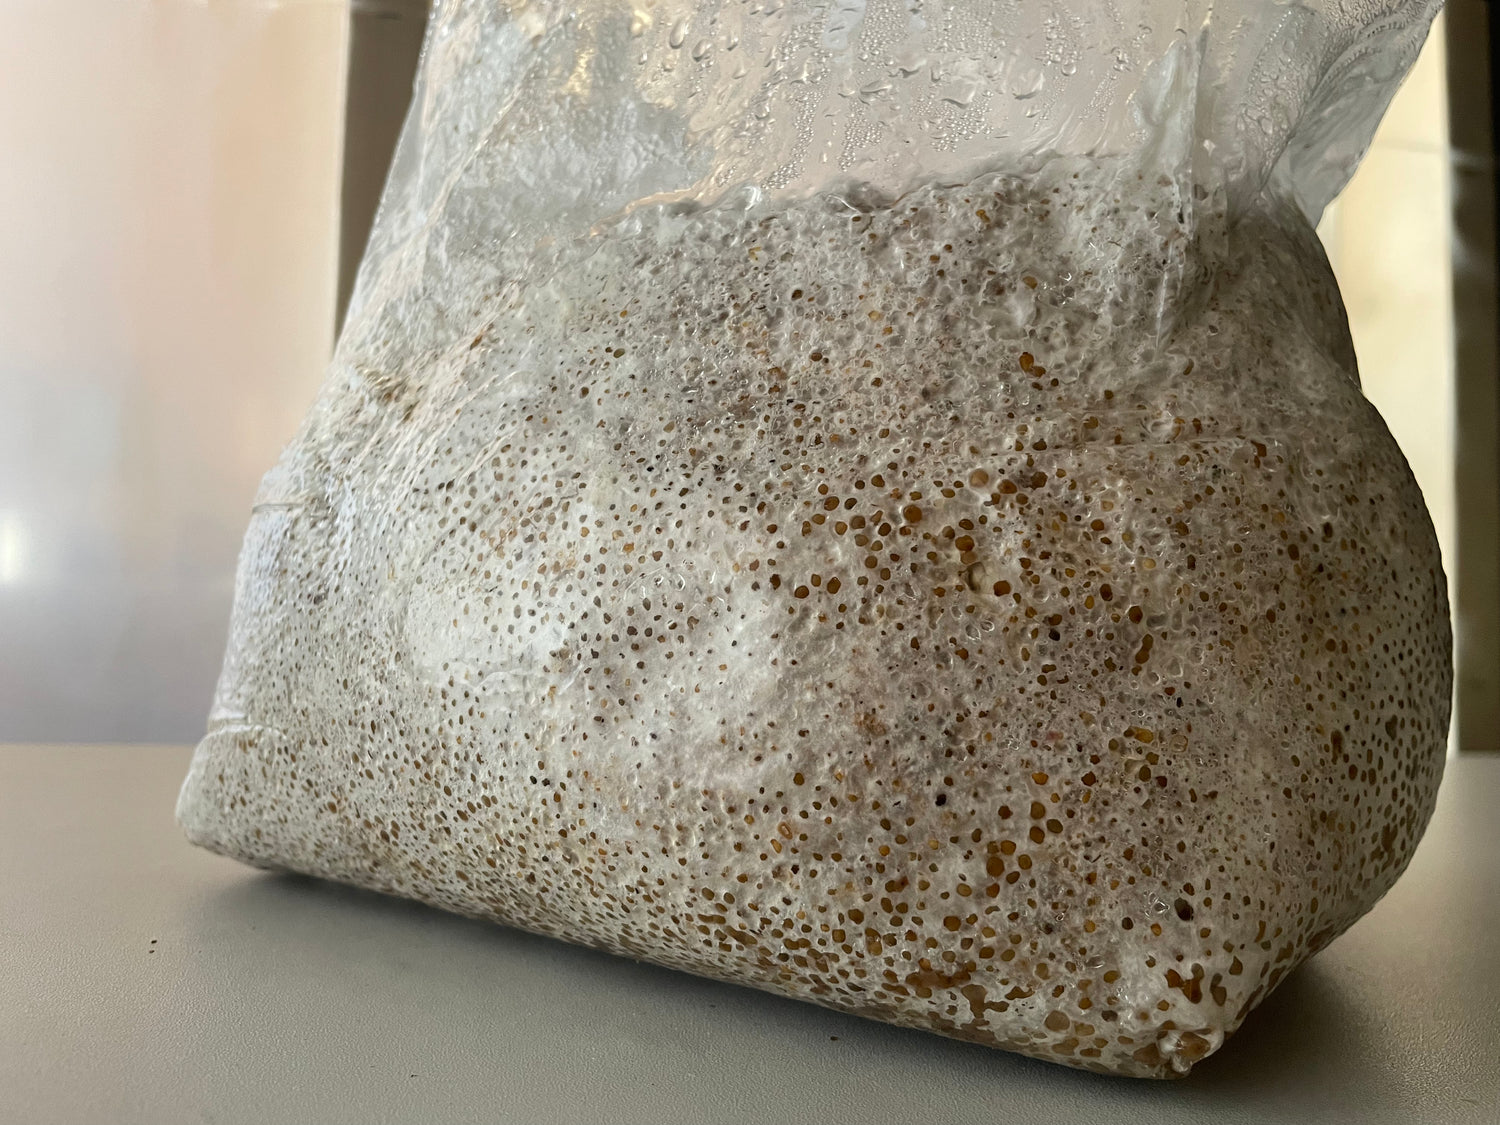
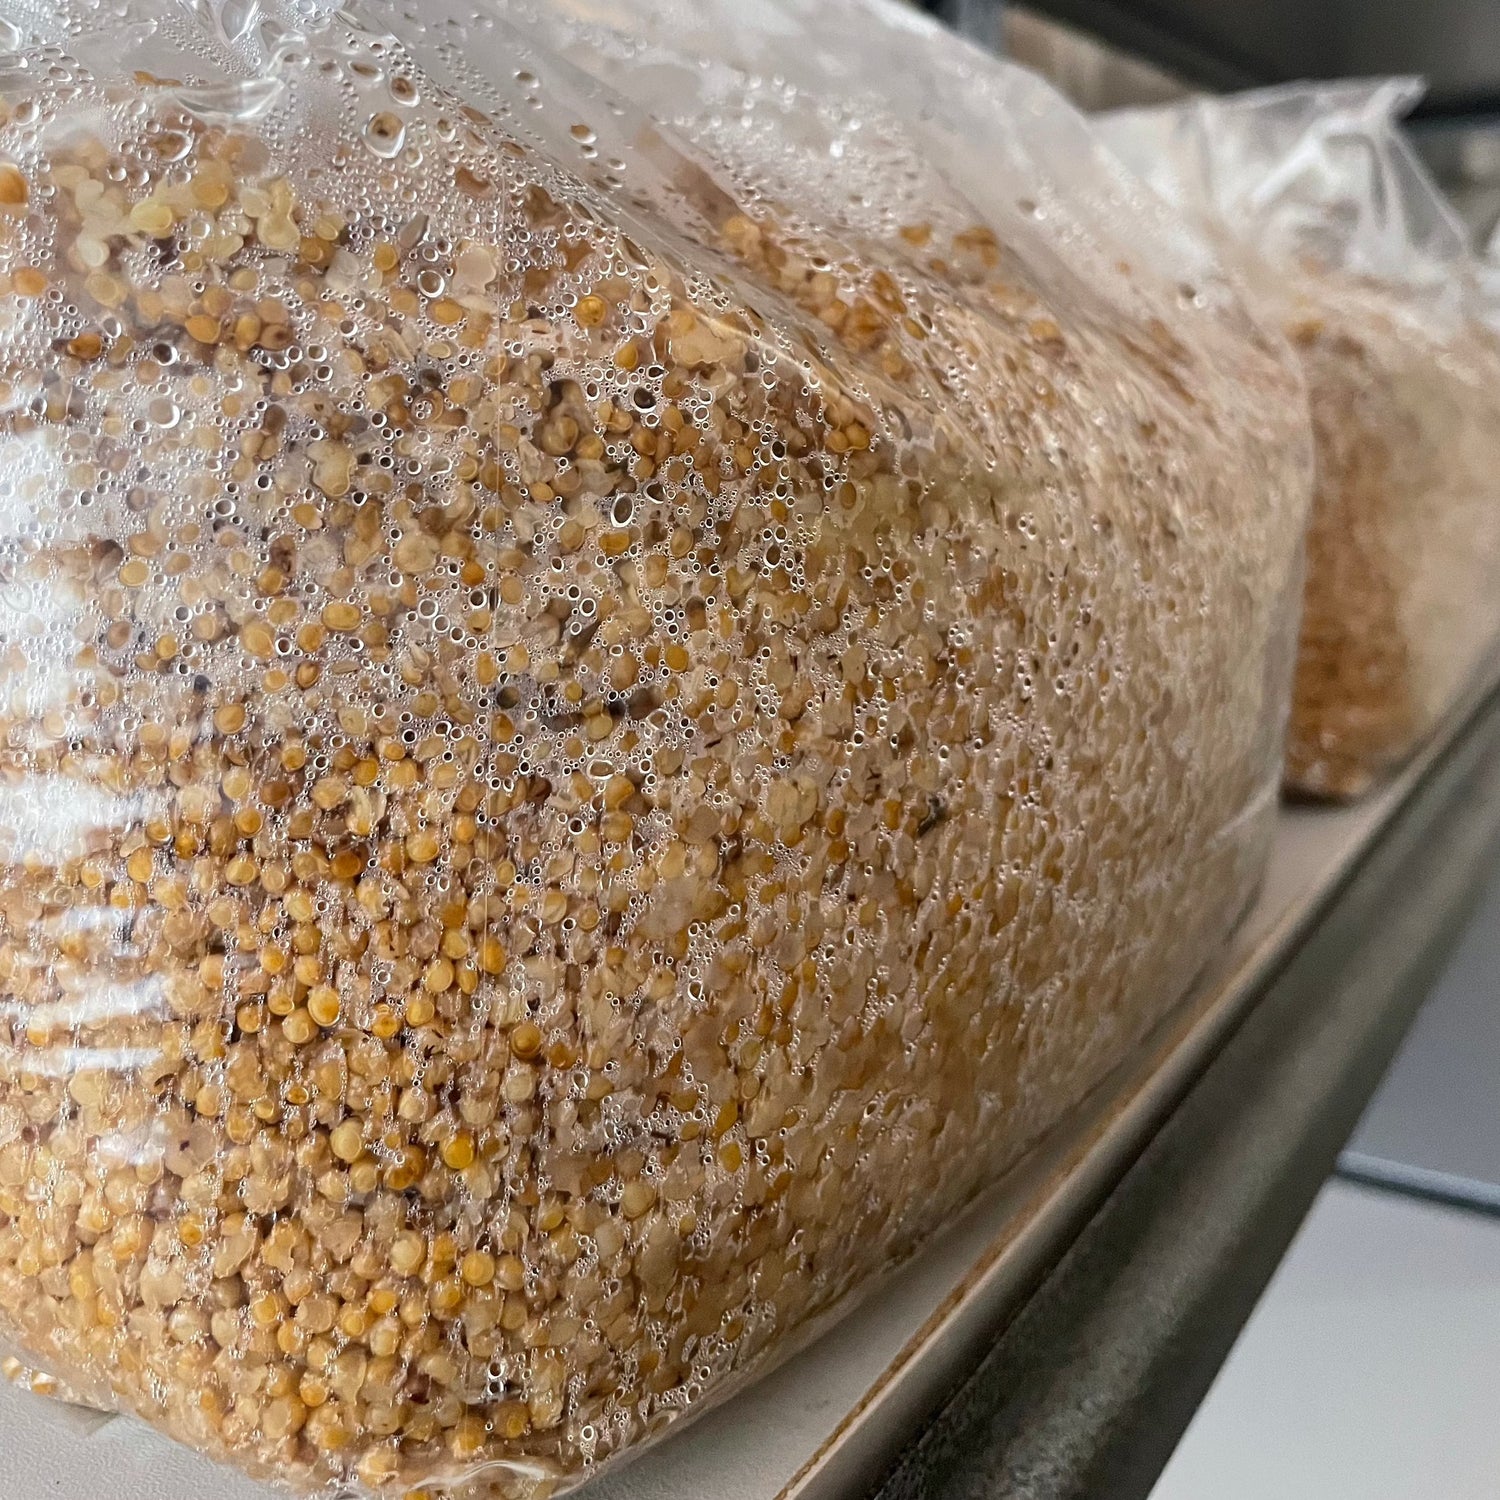
  9. Regularly check for the absence of Mold or bacterial growth; mycelium is characterized by its white and fibrous appearance, while any other colours signify Mold. 
  10. Once mycelium covers at least one-third of the millet, break it up and shake the bag to evenly distribute the mycelium, expediting colonization. 
  11. When the bag is entirely white with mycelium, it is ready for inoculating your substrate. 

Note: Mycelium can produce brownish or yellowish metabolites; this is normal. Conversely, green, grey, blue, or other colours are indicative of contamination. Smelling through the filter patch is a reliable method to detect Mold; a strong, repulsive odour suggests contamination, while mycelium emits a sweeter, earthy scent.

Step 3

Inoculating substrate with grain spawn

Now that you have successfully cultivated grain spawn, you can employ it to inoculate the fruiting substrate, composed of sawdust and soy hulls, providing essential nutrients for mushroom development. Sanitation remains paramount to minimize contamination risks.

Procedure: 

  1. Put on your gloves. 
  2. Thoroughly disinfect all surfaces, materials, and yourself: countertop; substrate bags; millet bag; your hands 
  3. Break up the millet to facilitate individual grain pouring; small clumps are acceptable, but individual grains are preferable 
  4. Open the millet bag. 
  5. Open one substrate bag. 
  6. Pour 300g of millet into the substrate bag (you can pour more for faster growth and reduced contamination risk; ensure sufficient millet for all six substrate bags). 
  7. Fold and seal the substrate bag using alligator clips, following the same procedure as with the millet bag. 
  8. Repeat steps 4-7 for each bag. 
  9. Tape the bags shut if they are not airtight. 
  10. Shake each bag to evenly distribute the millet and prevent substrate clumping.  
  11. OPTIONAL: Label the date and specify the strain on the filter patch. 
  12. Allow incubation for 2-4 weeks, or until complete colonization is achieved. 

Note: Regularly check for mold or bacterial growth. Full colonization is indicated by the absence of bare substrate spots, and the block should be firm to the touch. Inverting the bag should result in minimal substrate spillage. 

Step 4

Fruiting the blocks

Now, it is time to stimulate mushroom growth. Once your blocks are fully colonized, they are prepared for introduction into a fruiting environment. Each mushroom strain thrives under different conditions, but all the mushrooms we offer perform optimally at temperatures ranging from 15-23°C with 85% humidity. Employing a fruiting chamber yields the best results, but proper misting with water can also facilitate growth. 

Procedure: 

  1. Position your blocks in your designated growing area. 
  2. Create an X-shaped opening in the bag, leaving sufficient space between the blocks for mushroom growth. 
  3. Daily misting with water is essential to prevent drying out. 
  4. You can anticipate mushroom growth within 2-4 weeks for oyster mushrooms or 4-8 weeks for chestnuts, depending on the strain. 

For further assistance or inquiries, please do not hesitate to contact us. Happy mushroom cultivation! 

  • Too Early!

    Notice that the caps are still small and the edges are very rounded still.

  • Good to Harvest!

    Notice the caps are large and the edges are starting to flatten out but are still rounded.

  • Too Late!

    Notice the caps have flattened out and are drying out. They're still okay to eat!

Frequently Asked Questions

What if there are already mushrooms growing on my kit?

This is normal. Once the mycelium has covered the entirety of the fruiting block the mushrooms want to fruit. Cutting the plastic gives them an influx of oxygen to fruit toward but some of the pins are just a bit too eager! You can cut the plastic above the baby mushroom for it to flourish.

When do I harvest my mushrooms?

Mushrooms should be harvested before the caps flatten out and release their spores! Mushrooms grow very quickly so it is important to keep an eye on them every day looking for the ideal time to harvest. If you wait too long and the caps do flatten out (see photos below for reference). Do not worry! The caps are still edible, but they may just not stay fresh for as long. If they look mouldy or dry, they were probably left too long. Lion’s Mane should be harvested before it turns yellow and mushy. Since they do not have caps, you can gauge when to harvest them by the length of their teeth. When the teeth are about 1/4 inch long or it starts to brown, it is time to harvest.

Do I take the block out of the plastic?

No! The kit is ready for growth once you remove the cut-out and slice an X in the bag. However, You may want to remove the bag from the box to do the soaking method mentioned under Step 4 on the grow kit page for best results.

How many times will the mushrooms fruit?

Typically, a grow kit will fruit mushrooms two to three times (less amount every harvest). To ensure another harvest, remove the mushrooms and any left-over pieces from the hole so the substrate is exposed again. Make sure to soak the substrate in a bowl of cold water for 3-6 hours after harvesting. This ensures the substrate has enough water to support more mushroom growth. Once soaked, drain excess water and start your misting schedule again.

The substrate block seems dry and is not producing mushrooms…

It’s been 2 weeks and I still have no mushrooms starting…

Be patient sometimes the mycelium takes time to fruit. However, there are a few factors that may prevent your mushrooms from fruiting. It may be too warm in your house, so placing the box in the fridge for a day can help initiate pins or just find a cooler area of the house. It may be too dry, if you have not done the soaking method mentioned in Step 4 on the grow kit page then try that first. You can also try increasing your misting.If after 4 weeks and still no sign of growth, message us and we will send you another kit for free. If using a Chestnut kit, wait up to 2 months before contacting us.