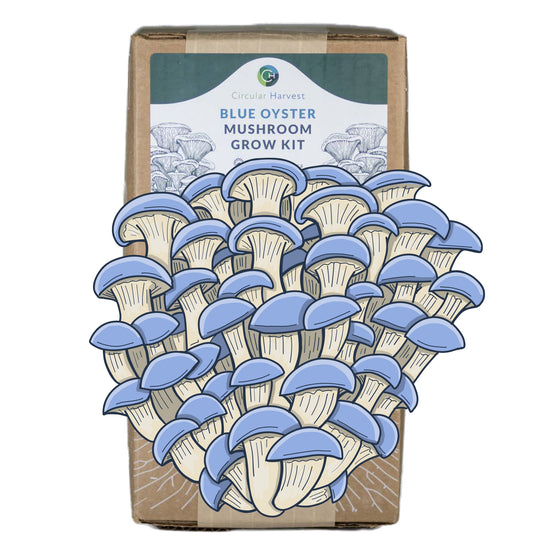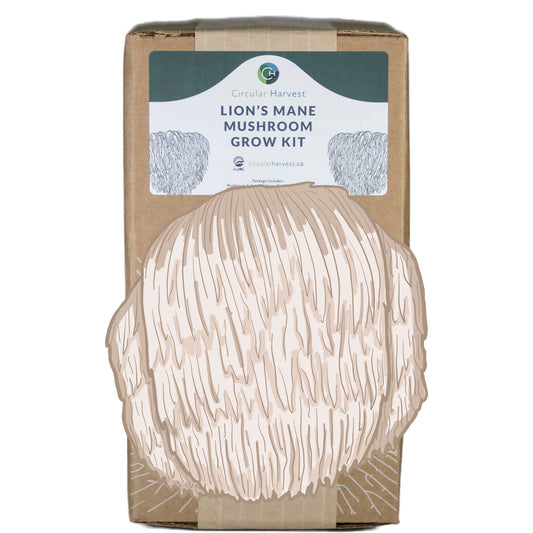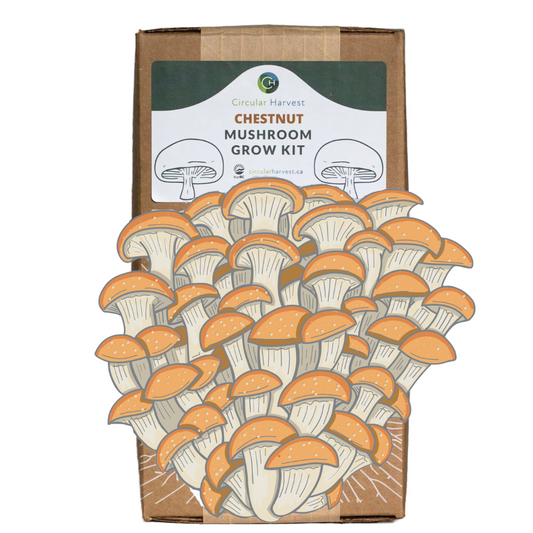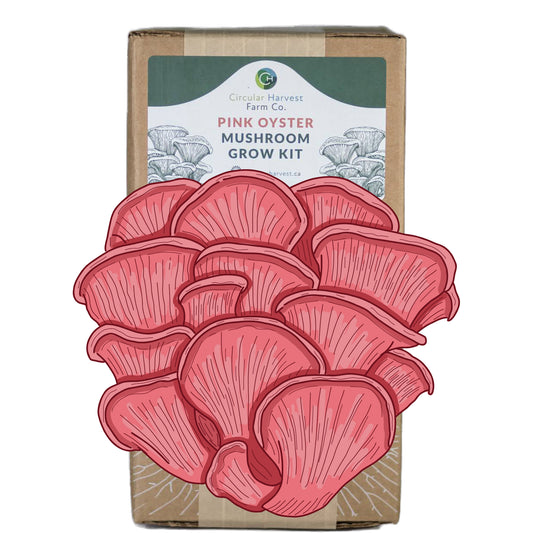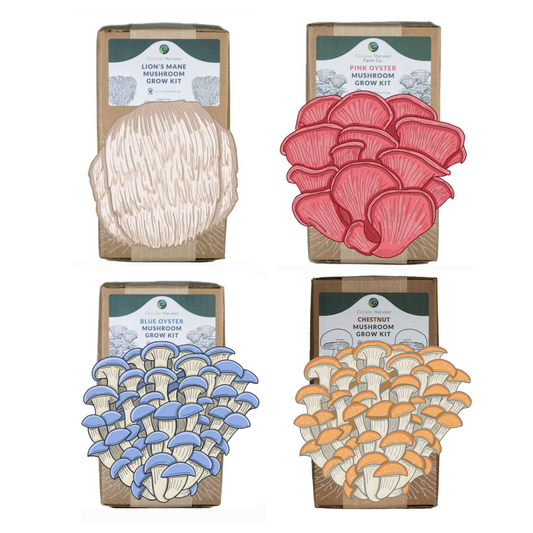

Starting with a grow kit is often the moment many commercial growers first fell in love with mushroom farming. If you’re reading this post, chances are you’ve felt that spark too.
The goal of this guide is to take that excitement and show you how to expand beyond the kit itself, building foundational skills that move you from simply growing mushrooms to thinking like a mycologist.
We’ll walk through several ways to expand your grow kit into more mushrooms — both outdoors and indoors — along with practical tips to help you avoid common mistakes along the way.
Step 1: Make Sure Your Kit Is Still Active
Mushrooms, like all living organisms, change over time. As fungal cultures age, they can lose vigor and productivity — a process known in mycology as senescence.
Senescence refers to the gradual decline in performance of a fungal culture as it ages. If you’d like to dive deeper into this topic, check out our post
“Senescence in Mushroom Cultivation: What It Is, Why It Matters, and How to Manage It.”
When starting with a grow kit, it can be difficult to know exactly how old the mycelium is unless your supplier tracks and shares that information. However, you can work around this by:
- Using the kit soon after receiving it, or
- Expanding the kit shortly after your first harvest
Both approaches help ensure the mycelium is still strong and productive. The longer a kit is kept and repeatedly harvested, the weaker the mycelium becomes, making it less suitable for expansion.
Step 2: Decide How You Want to Expand Your Mycelium
Once you’re confident your mycelium is healthy, the next step is choosing how to expand it.
There are many possible methods, but in this post we’ll focus on three that work well for beginners. These options range from low-effort, outdoor methods with more variability to more controlled indoor systems with higher reliability.

Mushroom Beds (Outdoor Growing)
Mushroom beds are one of the easiest ways to expand your grow kit outdoors. They integrate mushrooms directly into your garden while also improving soil health.
You’ll need:
- Cardboard
- Your grow kit
- Wood chips, straw, or sawdust
Step 1: Choose a Location
Pick a spot that:
- Receives little to no direct sunlight
- Doesn’t take up prime garden space
Walking paths, shaded edges, or under shrubs are excellent options.
Step 2: Prepare the Bed
- Rake the area flat
- Lay down cardboard and thoroughly soak it with water
- The cardboard acts as a moisture reservoir and starter food source for the mycelium
Next, prepare your bulk material (wood chips, straw, or sawdust). To reduce competition from molds and bacteria, pasteurize it by pouring boiling water over it in a bucket and letting it sit for a few hours. Drain before use.
Step 3: “Plant” Your Mushrooms
- Break up your grow kit into small, spreadable pieces
- Layer the kit substrate and fresh material like a lasagna
- Finish with a top layer of fresh wood material (not exposed kit substrate)
Step 4: Watering
Keep the bed moist but not waterlogged. Water every few days, adjusting based on rainfall and weather conditions.
Best timing: Early spring after the last frost, when natural moisture supports growth.
This method is low-effort and low-cost but highly dependent on environmental conditions, so results can vary.
Alternative: Bury the Whole Kit
Instead of breaking the kit up, you can bury the entire block:
- Choose a shaded spot
- Cover with about 1 inch of soil or wood chips
- Water occasionally or let nature take over
Mushrooms will appear when conditions are right. For more information on growing mushrooms in a garden check out our blog post "Growing Mushrooms in Your Garden".
You can also purchase our Plant & Grow Mushroom Garden Blocks for better results.
Mushroom Logs
Mushroom logs rely on the same outdoor principles as beds but can produce mushrooms for much longer due to the dense wood feeding the mycelium.
You’ll need:
- Fresh hardwood logs
- Grow kit
- Drill
- Wax
Step 1: Cut Fresh Logs
- Use logs 4–6 inches in diameter
- Late winter is ideal, when sap is beginning to rise
Hardwoods like alder, oak, or maple work best.
Step 2: Drill Holes
- Drill ½–1 inch holes across the entire log
- These holes act as inoculation points
Step 3: Inoculate the Logs
- Break your grow kit into fine material
- Pack it tightly into each hole
- Seal each hole and the cut ends of the log with wax
This helps retain moisture and prevent contamination.
Step 4: Watering
- Keep logs consistently moist
- Water more during dry periods
This method requires patience — fruiting can take months or even years — but once established, logs can produce for a long time with minimal effort.
Mushroom Buckets (Indoor / Semi-Controlled Growing)
If you’re interested in learning controlled cultivation techniques, mushroom buckets are an excellent next step. This method is more involved but produces faster and more reliable results.
You’ll need:
- 5-gallon bucket with lid
- Grow kit
- Drill
- Micropore or medical tape
- Sawdust pellets
- Straw
Step 1: Prepare the Bucket
- Drill small drainage holes (⅛–¼ inch) in the bottom
- Drill ½–1 inch holes around the sides for fruiting
- Tape bottom holes with solid tape
- Tape side holes with micropore tape
Step 2: Prepare the Substrate
- Clean the bucket with alcohol or diluted bleach
- Fill ¼ of the bucket with sawdust pellets and hydrate with boiling water
- Fill the remaining ¾ with straw and pour boiling water over it
- Cover and let sit for one hour
- Drain excess water
Step 3: Inoculate
- Break the grow kit into small pieces
- Mix thoroughly throughout the substrate
- Ensure even distribution from top to bottom
- Seal the bucket and place in a warm area (~20°C)
Step 4: Fruiting
After 1–2 weeks, the bucket should be fully colonized with white mycelium.
At this point:
- Move the bucket to a cool, humid environment
- Mushrooms will fruit from the side holes
For more control, check out our post “How to Build a Grow Room.” Buckets can also fruit outdoors during rainy seasons, though results are less predictable.
Final Thoughts
Each of these methods has its own strengths and limitations. No method offers a 100% success rate — and that’s part of mycology.
The best growers learn through:
- Observation
- Experimentation
- Failure
- Patience
If something doesn’t work the first time, don’t be discouraged. Every experienced mycologist has lost far more grows than they’ve succeeded with.
If you have questions or need help troubleshooting, feel free to reach out — we’re always happy to help you learn and grow.